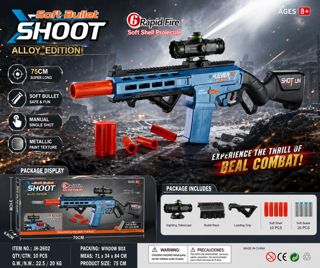
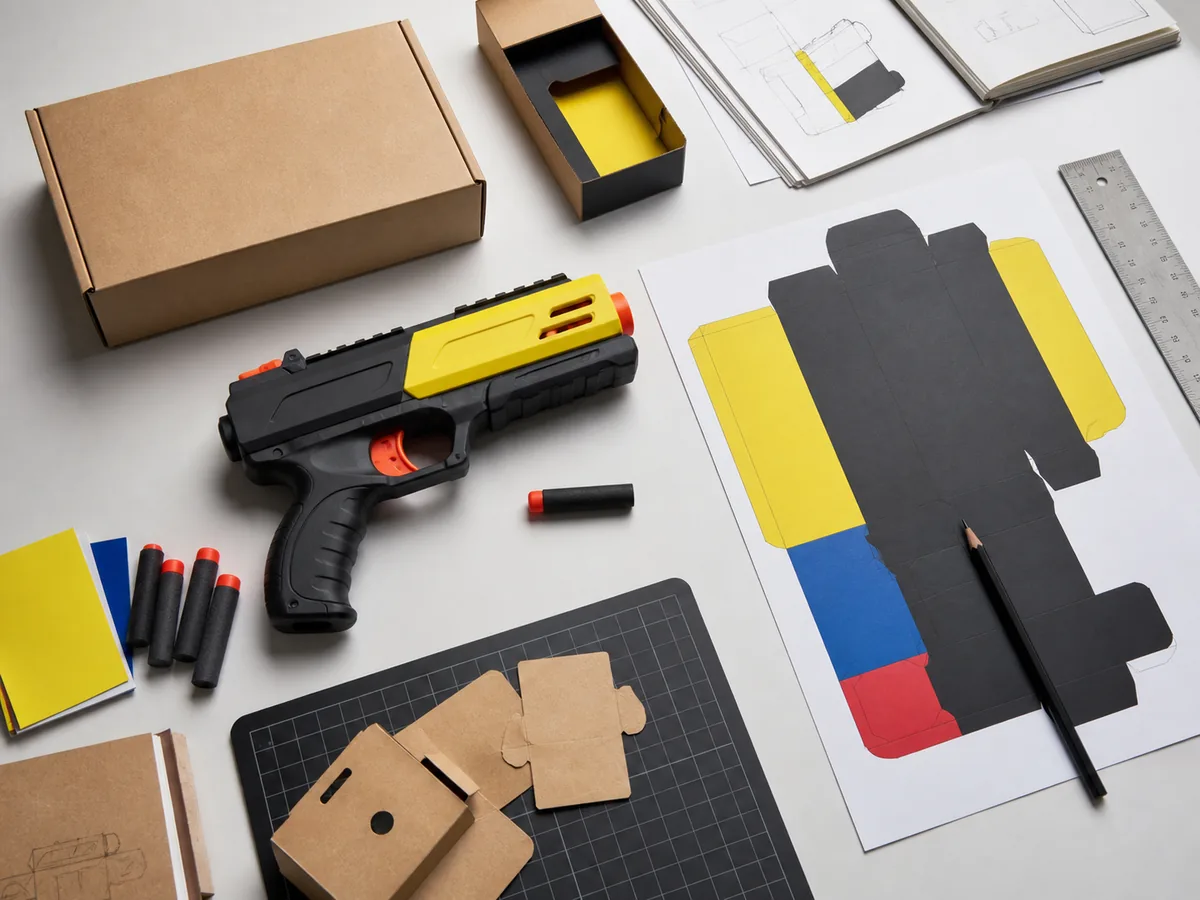
A display only earns its shelf space if a store associate can assemble it from the packaged guide without calling you. Approve the display only when retail staff can assemble it from the packaged guide—that means part identification, fasteners, base stability, rotation, blaster mounting, setup time, clear instructions, and teardown storage all pass a dry run before you sign off.
This guide lays out a step-by-step visual inspection and trial-assembly checklist for wholesale buyers, importers, and private-label teams. It covers what to check at each stage, what questions to ask the supplier, and a worked example (illustrative, not a real shipment) that shows where a display can fail and get held at QC.
Key Takeaways: What to Verify Before You Approve a Display
- Approval hinges on a trial assembly by someone who has never seen the product, using only the packaged guide. If that person cannot identify parts or needs extra tools, the display fails.
- Check fasteners: screws, clips, and locking tabs must be captive or clearly labeled; missing or ambiguous fasteners are a top cause of failed retail assembly.
- Base stability: a rotating or target-holding base must not tip when a child leans on it. Test with the blaster mounted and the target set in place.
- Rotation and mounting: the rotating joint should move smoothly without tools, and the blaster must click in securely—no wobble, no need for factory know-how.
- Packaged instructions must match the actual parts. Line clearance errors, such as leftover labels from a prior SKU, can turn a good guide into a bad one; check the physical guide against the golden sample.
Why the Packaged Guide Is the Real Gate for a Display
A dramatic display loses commercial value if setup depends on factory knowledge. The factory team can assemble the stand blindfolded—they have done it hundreds of times. Your retail associate has not. The moment a store opens the box and finds a base that will not sit flat, or a blaster that will not lock into its mount, the display becomes a shelf hazard and a returns problem.
The approval decision should test the exact packaged configuration: the guide, the fasteners, the parts as shipped. It is a sourcing workflow, not a marketing check. The golden sample on the QC shelf—the sealed physical piece that settles colour, fit, flash, and function arguments—must be the benchmark, not a photo or a video.
For a display with multiple components, such as a dinosaur-themed target set with a pump blaster and separate targets, the risk multiplies. Each part must be identifiable, and the guide must sequence the steps. If the buyer approves a photo, they pay for the mistake on the second lot.
Step-by-Step Visual Inspection and Trial Assembly
Run this checklist on every display unit before you approve the PO. Treat it as a gate: any failure here means the display does not go to retail.
1. Part identification. Lay out every part from the box. Each piece should be recognizable from the guide's illustrations or photos. Look for parts that look similar but are not interchangeable—a left and right target arm, for example. If the guide does not show a part clearly, that is a red flag.
2. Fasteners. Check what holds the base together: screws, clips, locking tabs. Screws should be captive or come in a labeled bag. If the guide requires a tool not included, that fails unless the retail channel is OK with it. Ask the supplier: "What tools does the end user need, and are they in the box?"
3. Base stability. With the blaster mounted and targets in place, the base should not tip when a small child leans on it. Test on a flat surface. A rotating base should lock in position or move smoothly without pinching fingers. If the base wobbles or the rotation is stiff, the display is not ready.
4. Rotation mechanism. The rotating joint should be a simple click or a smooth turn—no hidden release button that only the factory knows. Check that the rotation does not loosen the blaster mount over repeated use.
5. Blaster mounting. The blaster must click into its cradle or clip without forcing. If it requires a specific angle or a push-pull motion that is not in the guide, that is a fail. The mount should hold the blaster firmly during play, not just when static.
6. Setup time. Time a non-expert assembly. If it takes more than five minutes for a simple stand, that is a sign the guide or the part design is weak. For a complex target set, ten minutes might be acceptable—but the guide must carry that expectation.
7. Instructions. The guide must match the actual parts. Check for line clearance: a previous SKU's labels or a different model's diagram in the box is a common factory error. The guide should have short sentences, clear images, and no reliance on text alone.
8. Teardown and storage. Retail displays get packed up for transport or seasonal storage. The guide should show how to disassemble and repack without breaking clips. If the display cannot be stored flat, it may not survive a return to a warehouse.
Worked Example: A Target-Set Display That Failed the Gate
Worked example (illustrative, not a real shipment). A buyer orders 2,000 units of a dinosaur-themed pump blaster target set for two retail chains. One chain wants the display on a shelf, the other on a floor stand. The factory sends a golden sample with a video of the assembly, and the buyer approves the PO on that basis.
At the first chain's store, an associate opens a carton and finds the base has four legs, but the guide shows only three. The fourth leg is not mentioned; the associate forces it into a slot that is not there. The base tips over when the blaster is mounted. The store manager calls the buyer, and the display is pulled from the floor.
The second chain uses a floor stand. The associate assembles the stand correctly, but the blaster does not lock into the mount—it sits loose and falls out when tilted. The guide says "click until you feel it," but the actual part requires a twist motion that is not shown. That display also gets pulled.
The root cause is not the product design; it is the gap between the factory's assembly knowledge and the packaged guide. The buyer had approved a photo and a video, not a trial assembly by a non-expert. The fix is to run the checklist with a fresh pair of hands before the PO. In this case, the buyer would have caught both the missing-leg diagram and the mounting motion issue at the sample stage.
What to Ask the Supplier Before You Approve
Put these questions into your RFQ or PO review. They are the difference between a display that sells and a display that returns.
"Can you provide a PDF of the packaged guide for our review before we approve the PO?"
"What tools are required for assembly, and are they included?"
"Have you tested the display with a non-expert assembler? What was the average setup time?"
"What is the golden sample reference for this SKU, and will the bulk shipment match it in terms of part fit and finish?"
"How should the display be stored when not in use? Does the box fit the disassembled parts?"
"If we find a part mismatch or an assembly issue in the first carton, what is your rework or replacement policy?"
Pre-Approval Checklist at a Glance
| Part identification | Each part matches the guide; no ambiguous or missing parts. |
|---|---|
| Fasteners | Screws/clips/locking tabs are clear; no extra tool needed or tool is included. |
| Base stability | No tipping with blaster mounted and targets in place; flat on surface. |
| Rotation mechanism | Moves smoothly without hidden releases; no finger pinch risk. |
| Blaster mounting | Click-in without forcing; holds during play; no wobble. |
| Setup time | Non-expert completes within a reasonable time; guide sets expectation. |
| Instructions | Match the actual parts; no leftover labels or mismatched diagrams; clear images and short text. |
| Teardown and storage | Disassembly without breaking clips; fits back in the box or flat storage. |
FAQ
What is the first thing I should check before approving a display unit?
Run a trial assembly with someone who has never seen the product, using only the packaged guide. If they cannot identify parts or need extra tools, the display fails the gate.
Our supplier sent a video of the assembly; is that enough to approve?
No. A video shows the factory's knowledge, not the retail associate's. Approve only after a dry run with the actual packaged guide and parts, matching the golden sample.
What should I do if the guide does not match the actual parts?
Stop the approval and request a corrected guide or a part revision. Mismatches are often due to line clearance errors—a previous SKU's labels or a different model's diagram—and are a quality issue, not a documentation tweak.
How much setup time is acceptable for a blaster target set display?
For a simple stand, under five minutes. For a multi-part target set, ten minutes may be fine, but the guide must state the expectation and sequence the steps clearly. Longer times signal poor part design or weak instructions.
Can I approve a display that requires a tool not included in the box?
Only if your retail channel explicitly accepts that—most do not. If a tool is needed, it should be included, or the design should use captive fasteners or tool-free clips.
What is the role of the golden sample in display approval?
The golden sample is the physical reference for colour, fit, flash, and function. Compare bulk parts to it, not to photos. If the golden sample itself has an assembly flaw, fix it before mass production.